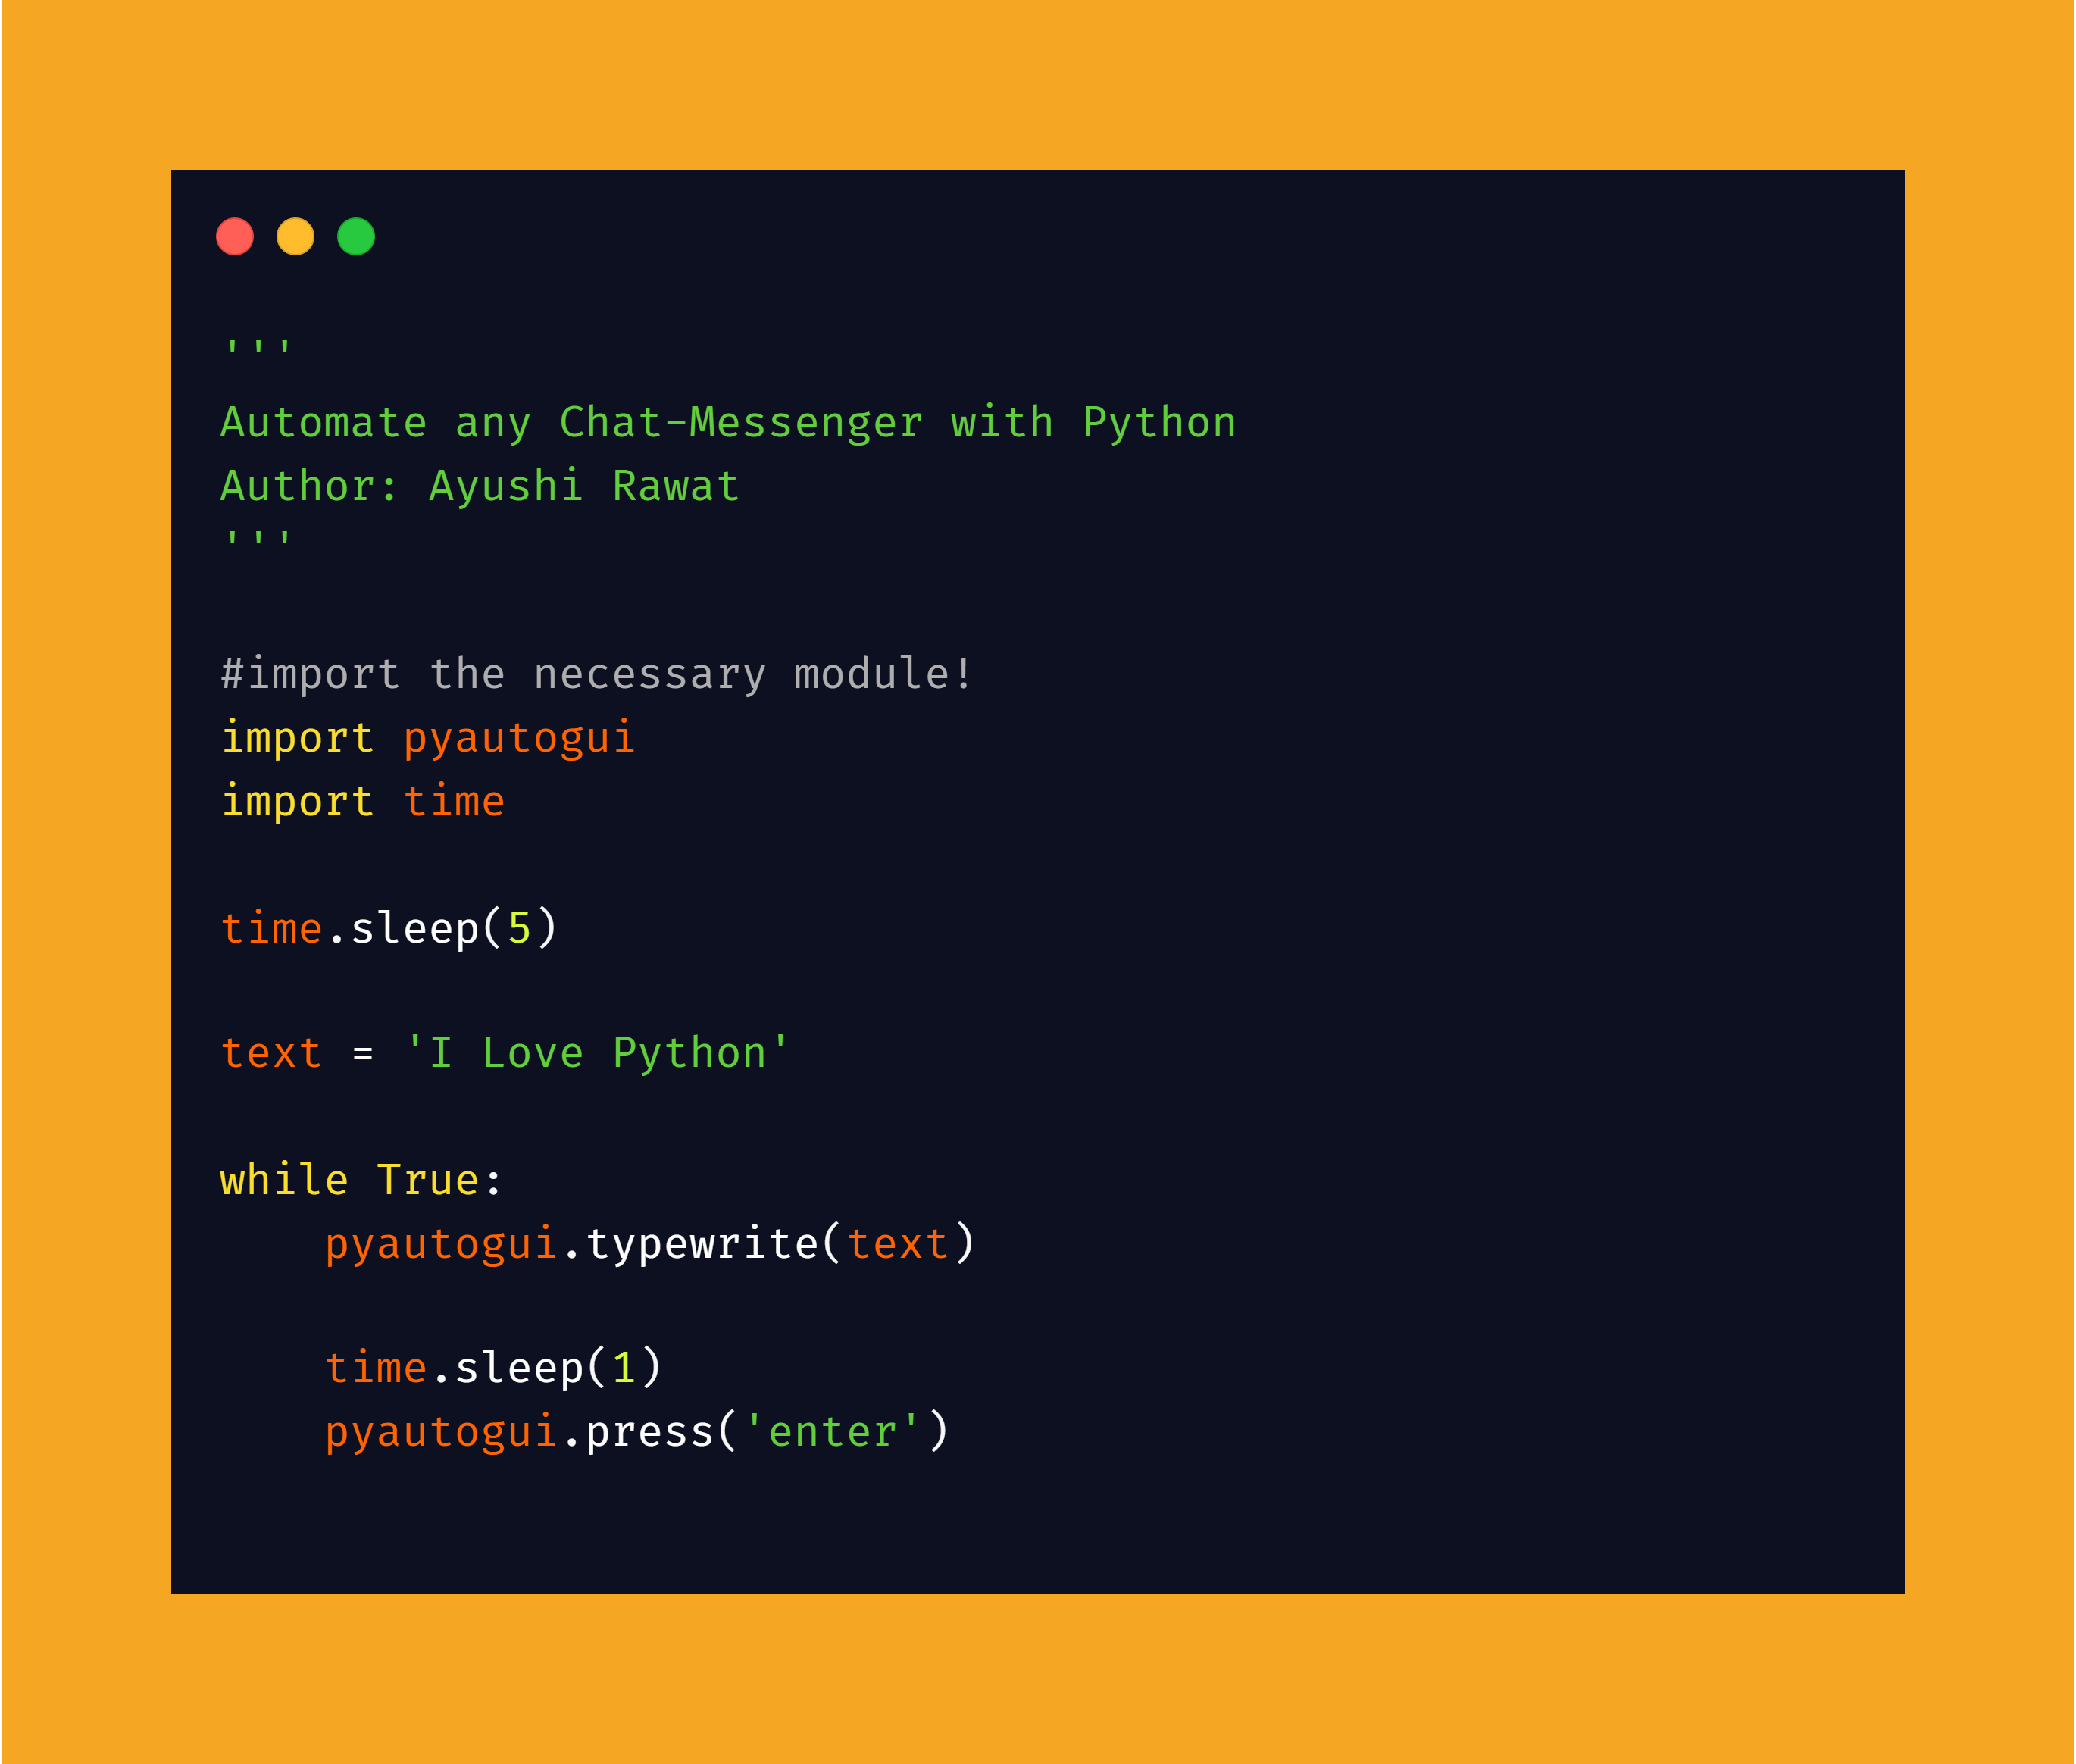
Automate any Chat-Messenger with Python
Easily automate Whatsapp | Facebook | Instagram Chat-Messenger with Python using PyAutoGUI
Hello, world!
In this Blog article, we will learn how to Automate any Chat-Messenger. We will see the implementation in Python.
Check out the Repository for Ultimate Resource in python. Drop a star if you find it useful! Got anything to add? Open a PR on the same!
You can refer to my YouTube video Tutorial to see a working tutorial for better Understanding and a step by step Guide of the same.
What will be covered in this Blog
1. PyAutoGUI Introduction
2. Automating Whatsapp | Facebook | Instagram Chat-Messenger
Let's get started!
What is PyAutoGUI?
- PyAutoGUI is a cross-platform GUI automation Python module.
- PyAutoGUI lets your Python scripts control the mouse and keyboard to automate interactions with other applications.
- PyAutoGUI works on Windows, macOS, and Linux, and runs on Python 2 and 3.
If you wish to know more about it, you can refer to PyAutoGUI Documentation. Use this link to navigate to the documentation.
Now that you are familiar with with our agenda and have acquired basic knowledge of PyAutoGUI module, we can move forward to the coding section.
Time to Code!
You can find all the code at my GitHub Repository. Drop a star if you find it useful.

In order to access the Python library, you need to install it first.
pip install pyautogui
Once installed, lets import it into your Python environment, use the following command to import pyautogui it in your python script.
import pyautogui
import time
We do not want our script to start off with immediate execution, so we need to introduce time module here. Make sure to import time before using it.
time.sleep(5)
Now let's store the data that you wish to use for automation. I am calling it as text, you can name it anything you like. So basically, you can send the data stored in text to desired user unlimited no of times.
text = 'I Love Python'
To automate, we will make use of typewrite method frompyautogui module, it will type each character present in the message on the screen at the cursor location.
Next, we will call the press method, it performs a keyboard key press down, followed by a release, for each of the characters in the message. So, we will pass enter as our argument here, i.e. the script will press enter once the text is typed in the chat messenger.
To provide some margin between the two, let's introduce sleep and finally we will enclose our code in a while loop for repetitive execution manner.
while True:
    pyautogui.typewrite(text)

    time.sleep(2)
    pyautogui.press('enter')
Now, open the chat messenger in your browser in a new tab. Once done, save and run the python script. Once the execution starts, make sure to place your cursor in the right place.
If you wish to limit the no of times the script sends message to the user you can do so by modifying the while loop.
That's it. we are done. You can customize your code further to perform different actions according to your need.
With these steps, we have successfully Automated a Chat-Messenger. That's it! You can play around with the pyautogui library and even explore more features.
Simple, isn't it? Hope this tutorial has helped. I would strongly recommend you to Check out the YouTube video of the same and don't forget to subscribe to my Channel.
You can find all the code at my GitHub Repository. Drop a star if you find it useful.
Thank you for reading, I would love to connect with you at Twitter | LinkedIn.
Do share your valuable suggestions, I appreciate your honest feedback!
You should definitely check out my other Blogs:
- Python 3.9: All You need to know
- The Ultimate Python Resource hub
- GitHub CLI 1.0: All you need to know
- Become a Better Programmer
- How to make your own Google Chrome Extension
- Create your own Audiobook from any pdf with Python
- You are Important & so is your Mental Health!
Resources:
See you in my next Blog article, Take care!!

