In this Blog article, we will learn how to Convert a Video into GIF . We will see the implementation in python.
Repository for Ultimate Resource in python. Drop a star if you find it useful! Got anything to add? Open a PR on the same!
You can refer to my YouTube video tutorial for better Understanding
What will be covered in this Blog
1. GIF Introduction
2. What is MoviePy?
3. Convert any video into GIF
GIF Introduction:
The Dictionary defination:
A lossless format for image files that supports both animated and static images.
A GIF stands for Graphical Interchange Format.

- GIFs are a series of images or soundless video that will loop continuously and doesn't require anyone to press play. We say “animated images” because GIFs aren’t really videos.
- Gifs are basically the compressed format of the video and they are used in places where very few colors are used, they are mostly used in logos as such. These gifs are compressed using lossless data compression in-order not to degrade the video quality.
- GIFs are gaining popularity because, like memes, they’re useful for communicating jokes, emotions, and ideas. These services are integrated into apps like Twitter, and Facebook Messenger, and your phone’s keyboard, so they’re just as easy to use as emojis or “stickers.”
If you wish to know more about it, you can refer to GIF Wikipedia Page. Use this link to navigate to the GIF's Wikipedia Page.
What is MoviePy?
MoviePy is a Python module for video editing, which can be used for basic operations (like cuts, concatenations, title insertions), video compositing (a.k.a. non-linear editing), video processing, or to create advanced effects. It can read and write the most common video formats, including GIF.
If you wish to know more about it, you can refer to MoviePy Documentation. Use this link to navigate to the documentation.
Now that you are aware of GIF and MoviePy basics, we can move forward to the coding section.
Time to code!
You can find all the code at my GitHub Repository. Drop a star if you find it useful.

Installing MoviePy
Open your terminal and run the following command
pip install moviepy
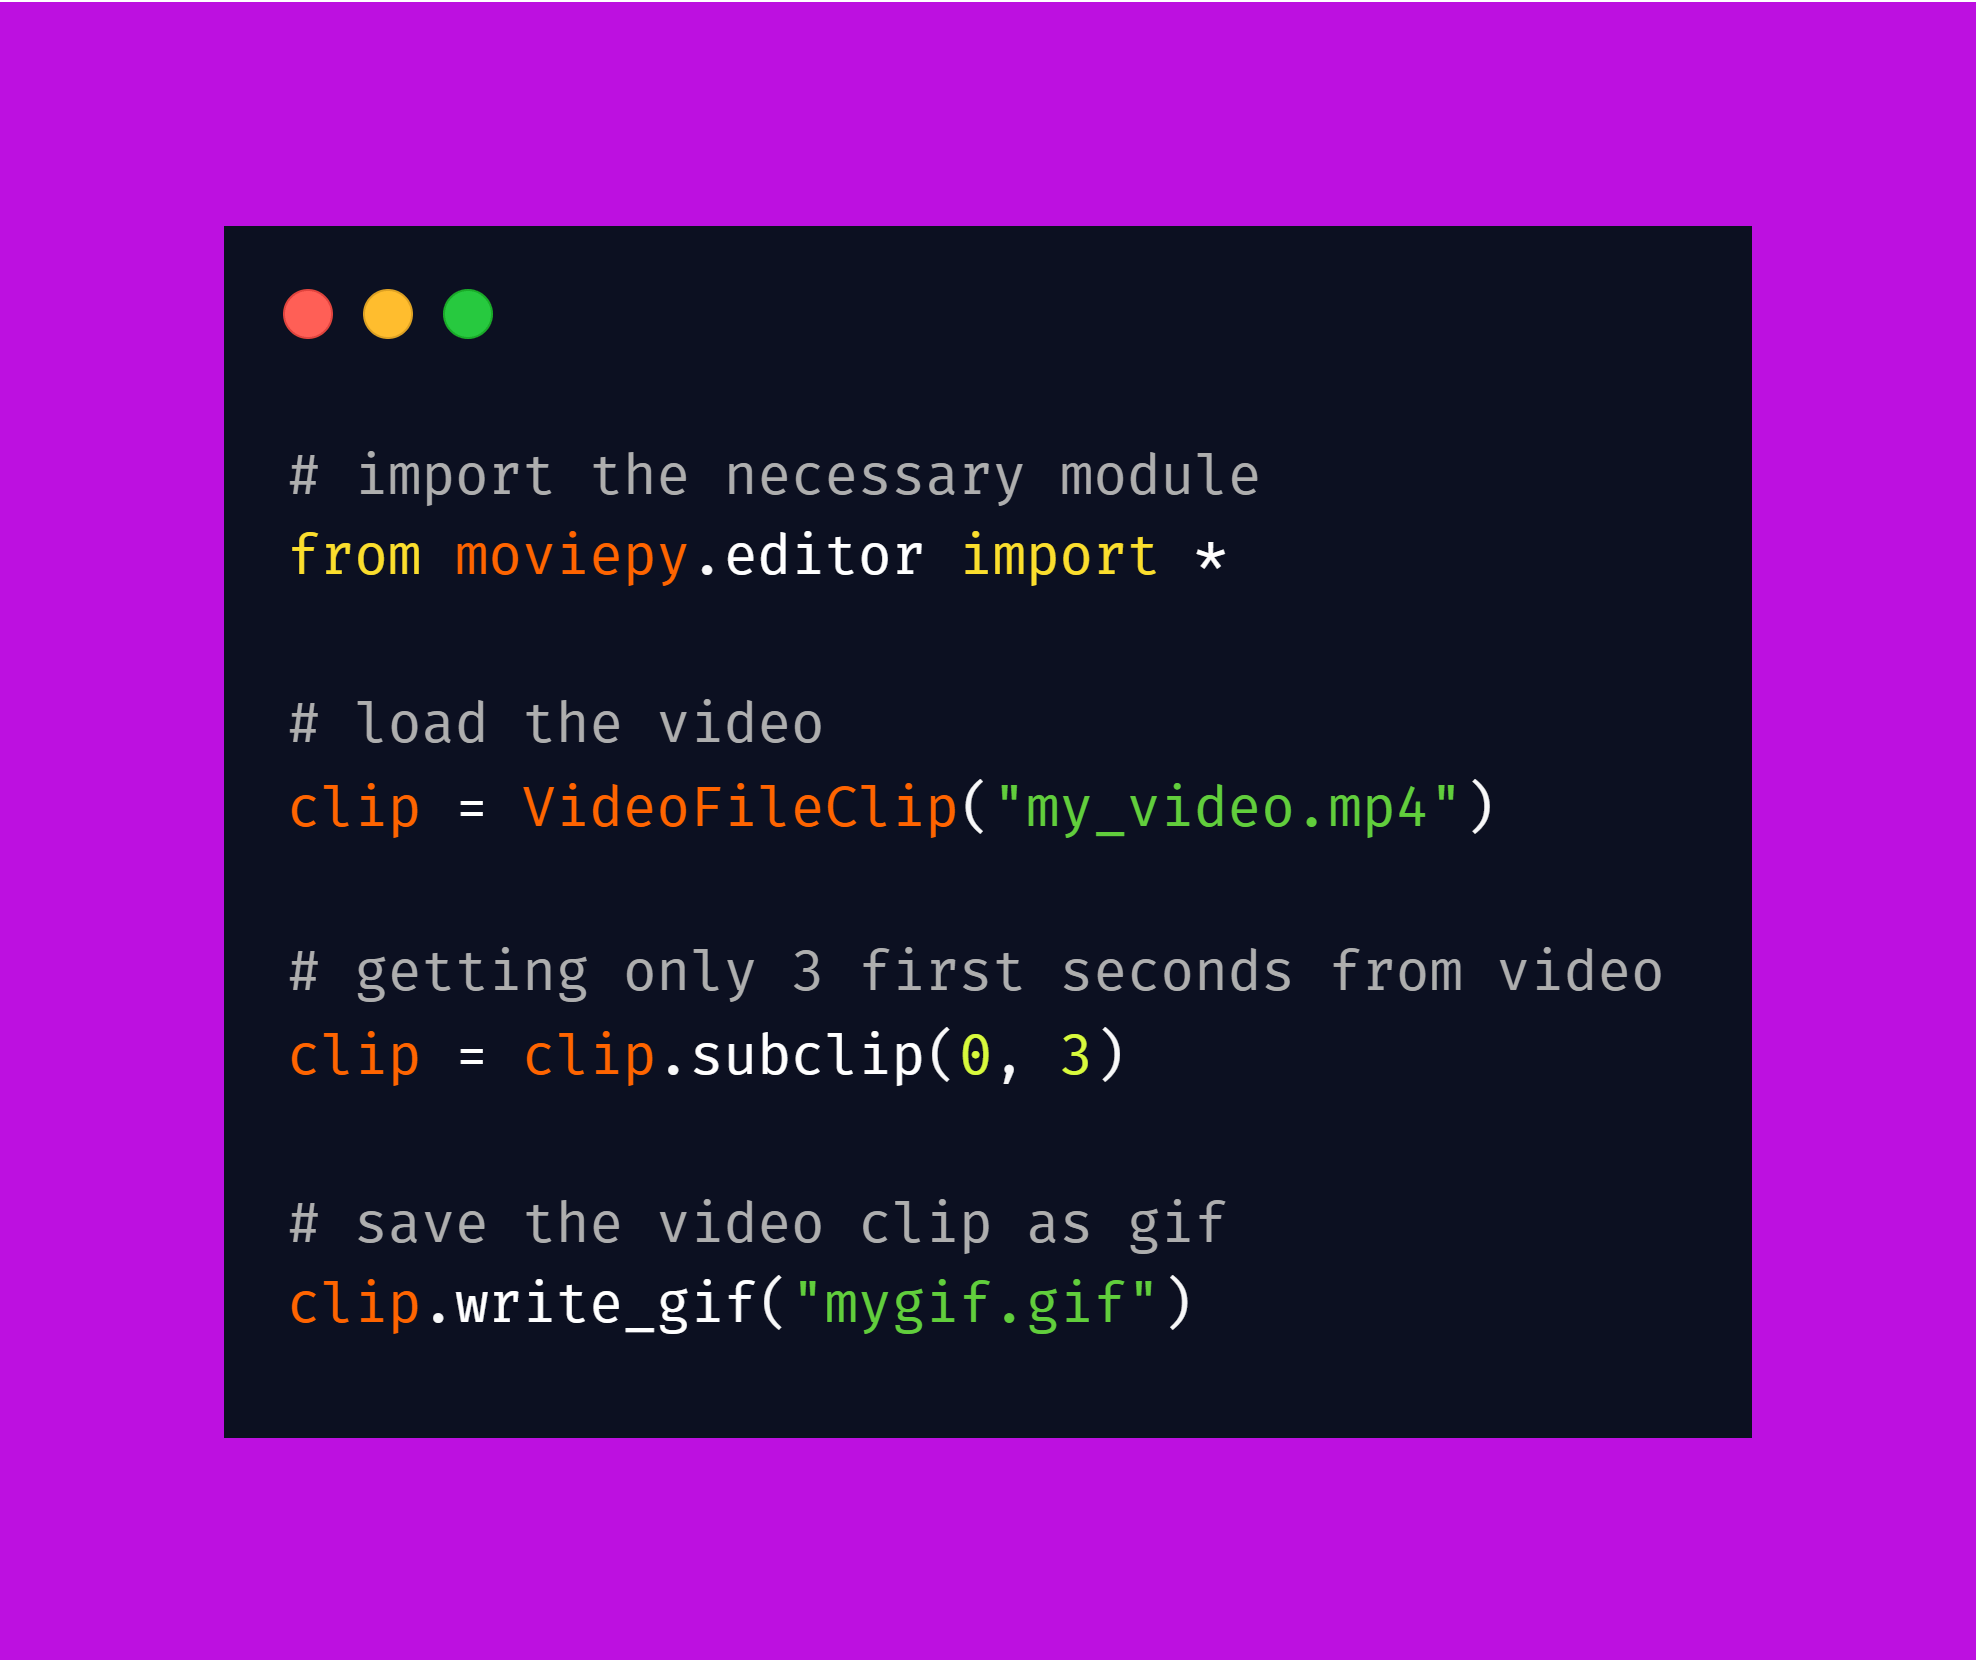
Now that we have the package, we are ready to import it in our python script.
from moviepy.editor import *
You could use a video that’s saved to your phone or a video that you found on YouTube, you can use any video of your choice.
clip = VideoFileClip("my_video.mp4")
Let's load and store the video in clip using VideoFileClip method.
NOTE: I do not need to specify the video file path because it is in the same folder as my python script.
clip = clip.subclip(0, 3)
Now let's fetch the first 3 seconds from the video using subclip method on clip. Once done, we can move forward and create our GIF using the write_gif method.
clip.write_gif("mygif.gif")
This is how the conversion is done. As you can observe the sound is removed, the quality of the gif is reduced compared to that of the video as well as the gif runs in an infinite loop and there is no control over it.
This is all about the conversion of a video into a gif. That's it! simple, isn't it? Hope this tutorial has helped.
You can play around with the library and explore more features like adding text on GIFs, Cropping the image, Freezing a region, Time-symmetrization and many other cool features.
You can find all the code at my GitHub Repository. Drop a star if you find it useful.
Thank you for reading, I would love to connect with you at Twitter.
Do share your valuable feedback and suggestions!
You should definitely check out my other Blogs:
- Python 3.9: All You need to know
- The Ultimate Python Resource hub
- GitHub CLI 1.0: All you need to know
- Become a Better Programmer
- How to make your own Google Chrome Extension
- Create your own Audiobook from any pdf with Python
- You are Important & so is your Mental Health!
Resources:
See you in my next Blog article, Take care
